Guest article from Big Tone Mastering – Online Audio Mastering
Recording and mixing an instrument such as an acoustic guitar can be as simple or as complex as you like but most important of all we need to get the sound right at the source to set us up for a good recording. Here at our Manchester recording studio, we have learnt the hard way in our early days, so remember - record a bad sound at source and you are starting on the wrong foot and leaving yourself open to a headache of a mix!
First off, if you have a selection of guitars or access to a number of different acoustics, then make sure you utilize your resources. Choosing the right guitar with the best sound for what you need will save you a lot of time later on when mixing. Think about what role the acoustic is going to play in the track; is it to be placed into a loud and busy mix and be heard through it’s top end, or is it the absolute main focus of the track? All of these kinds of questions help us understand what we need form the guitar itself but not only that, it will help your decision in step two now you know what you need form the guitar - choosing you microphone(s) and placement.
Today we’ll talk through two of our favorite microphone placements, but don’t let this stop you being creative and finding a better way to record your acoustic guitar. Use these ideas as a good place to start and go ahead and tweak away!
The ‘XY’ Technique
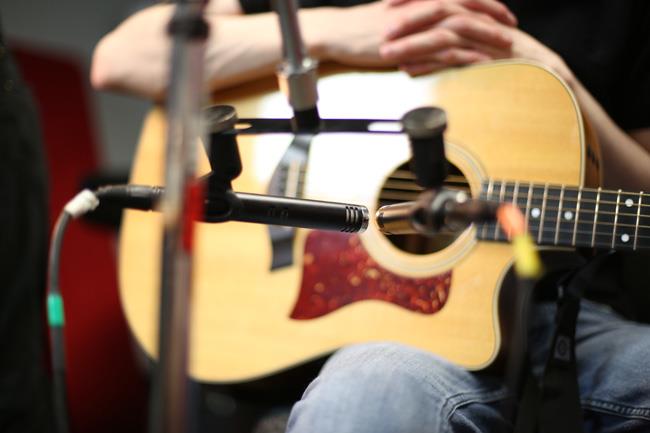
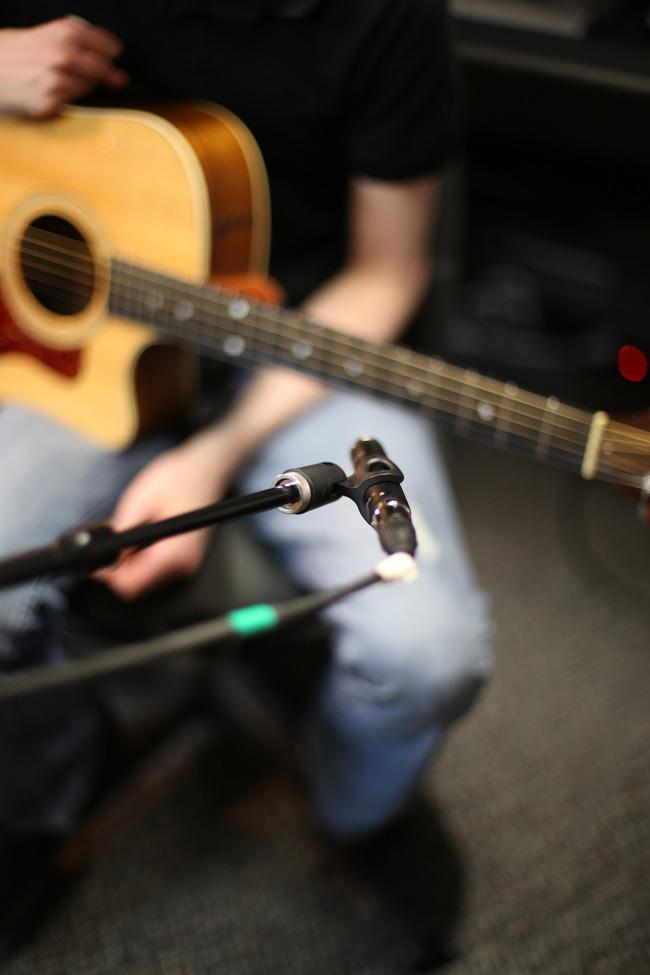
The first is the popular ‘XY’ placement. This involves two pencil condenser microphones crossed over at the 12th fret. They will both be aimed at the 12th fret and at an approximate 90 degree angle against each other. Move this placement up and down the fret board and sound hole to find the best sounding point. Remember, every guitar is different and no mic position will be applicable for two different guitars. The microphones should be around 6 inches away from the guitar, but again, use this as a guide and play about with the distance. When mixing these signals, pan them left and right for a stereo feel, panning harder for a widest stereo image.
Stereo Technique
The second microphone involves, again, two condenser microphones, however, this time we will need a large diaphragm condenser and a pencil condenser. The large diaphragm condenser will be position facing the bridge of the guitar at around 6 inches away and the pencil condenser at the same distance but at the 12th fret. This allows us to capture a good rich low end from the bridge and bright clarity from the 12th fret. The large condensers can be great for capturing low end due to their structure and size. Like the other technique, spread these signals using your pan tool in your chosen DAW. The great thing about this technique is that you can now balance the low end of your acoustic guitar by bringing in the bridge microphone until you are happy with the sound against your 12th fret position.

Single Large Diaphragm Condenser
For the times where the stereo sound isn’t necessary, placing a large condenser approximately 6 inches away from the guitar around the 12th fret can still give great results. The reason we recommend the large diaphragm over the pencil is because in the mixing stage, you have the option to keep or cut the rich and full low end that a large diaphragm condenser offers. Remember, when using this technique, it is important to find the point of perfect balance between the low and muddy sound the bridge can offer, to the clarity and sometimes thin sound the neck can give. You have less room for correction, compared to a stereo technique, when mixing.
Be wary of either side of your frequency ranges
A common problem when mixing acoustic guitars is the control on either the top or low end. Managing harsh top and low end can be achieved with a simple compressor. However, before we continue, we must stress; don’t over compress. Keep the ratio below 5:1:1 and make sure you’re threshold is only cutting up to 3 to 4 dB maximum. Over compression on an acoustic guitar takes away the dynamics from what can be a beautiful sounding instrument. Always listen back to the guitar in the mix and take some time away, to come back with fresh ears and a fresh outlook.
Use these three techniques and feel free to explore and experiment to achieve the sound you desire. Remember to make the right choices at the very beginning and most of all, have fun doing what can be a very satisfying recording experience.